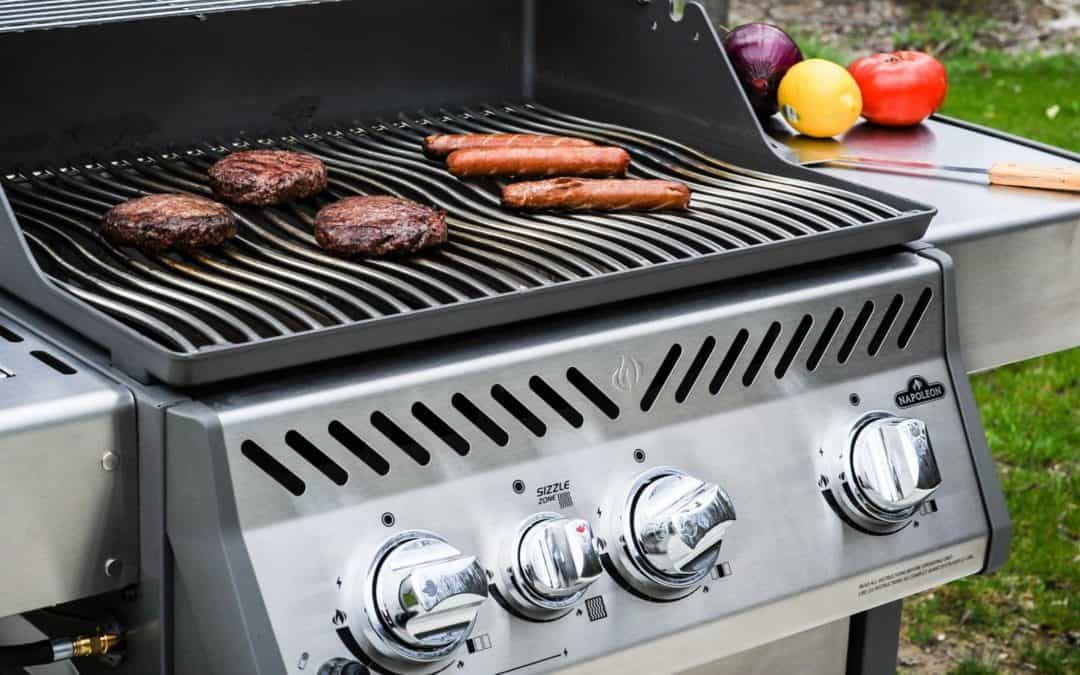
With summer already upon us and school just a few weeks away to be officially over, it is time to bring out the grill and make good use of it!
After being tucked away for months at a time, it is better to have your grill go through a thorough cleaning. Especially if you weren’t able to do so prior to storing it away. Cleaning prevents grease from building up, causing sudden or unsafe flares. Lack of any buildups also allows the gas to flow through easily, not to mention there won’t be any funky smell omitted.
While, at first glance, it might be more than a little intimidating, in reality, it is not. Just follow these step by step guide, and you should be good to go!
Supplies you will need:
- Gloves
- Grill brush: any sort of cleaning brush will do; preferably coarse
- Cleaning rags or towels
- Bristle brush
- Soap
- Water
Instructions:
Step 1: Get the required supplies.
You will need the supplies as listed above. While gloves are optional, it is better to have them. You will also require a grill brush, but any cleaning brush will do the job as long as it is coarse. A putty knife can easily replace the bristle brush in for this job. Other than that, you will also need some paper towels or rags for cleaning, and of course some water along with soap.
Step 2: Remove the gas supply
Make sure to shut off any supply of gas, or remove the gas tank from the grill altogether.
Step 3: Take the grill grates off the stove.
Put these aside for a thorough clean.
Step 4: Get the grill grates cleaned.
You may use a grill brush to scrub them clean. If you do not have a grill brush at hand, you can just replace it with any coarse scrubbing brush.
Step 5: Remove and clean all objects covering the burner.
Depending on your grill, you may have various objects on the surface of the stove, such as heat vents, lava stones, and ceramic briquettes. Remove these and scrub them clean just as you did in the previous step.
Step 6: Get the burner tubes cleaned.
Brush all the burner tubes gently, making sure that there are no obstacles blocking the ports.
Step 7: Tackle the lid and the bottom of the grill next
Start off by brushing away any loose debris underneath the grill. Scrape off any of the carbon flakes and grease underneath, or on top of the lid by using either a putty knife or grill brush.
Step 8: Clean the grease tray
This is a rather simple step. Just use soap and water to gently clean off the grease tray. If you wish, you can also choose to replace them altogether if you used disposable grease collecting pans.
Step 9: Dispose of the grease in an environmentally friendly way.
While it might be very tempting and easy to just wash the grease down the drain, don’t do it. Take an old empty can or bottle and pour the grease in it. Once it has hardened, throw the whole thing away.
Step 10: Clean the outside surface of the grill.
Soak your cleaning rag in soap and water, and wipe down the sides of the grill.
Step 11: Replace all the parts, and put your gas grill back together!
Once you replace all the parts to their rightful place, you can now go back to grilling with a good as the new grill!
While it isn’t necessary for you to give your gas grease a thorough cleaning every single time, it is better if you maintain it after every use. This can be as simple as scraping off any buildup of grease after every use or making sure the grease collecting tray is wiped off and ready for your next use.


