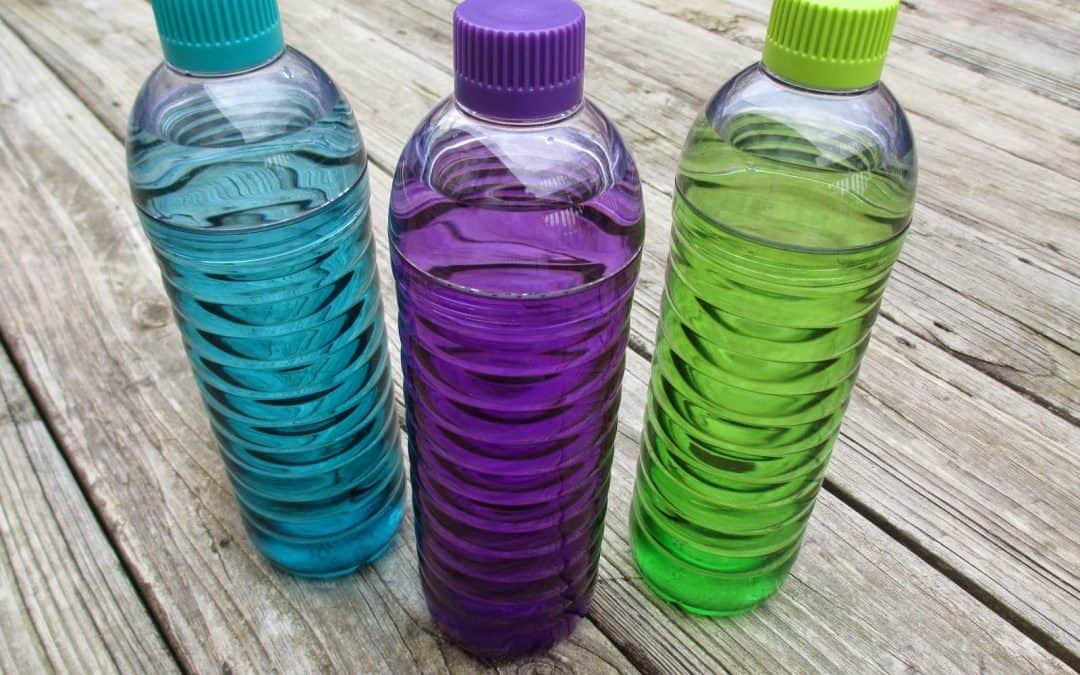
While we use our water bottles consistently, cleaning it is barely a second thought. You might say since it is just holding water, it is pretty clean and there is no reason to clean it once in a while, right? Wrong. Over time, there is a buildup of a particular film on the bottle and a collection of germs along the rims. Not to mention, the straw gets affected by mildew.
So here is how you can clean your reusable water bottle in these simple and easy steps:
Supplies you will need:
- Hot Water
- Bottle Brush
- Pipe Cleaner
- Baking Soda
Instructions:
Step 1: Take the bottle apart as much as possible.
Depending on the type of bottle, remove all the moving parts. Take off the lid and remove the straw, and also the rubber gasket. Remove anything that can easily be removed and replaced later on.
Step 2: Prepare the cleaning solution.
Take one-fourth cup of baking soda and a quarter of a liter hot water, and mix it thoroughly in a cup. Make sure that the water is not boiling hot.
Step 3: Fill your reusable bottle with the cleaning solution.
Once stirred well, pour the cleaning mixture into your reusable water bottle. Leave it for a couple of hours, or even better, overnight.
Step 4: Soaked the removed parts in the solution.
Take the removed parts, (such as the lid, straw, and the rubber gasket), and let it soak overnight in the remaining cleaning solution in the container.
Step 5: Prepare another batch of the cleaning solution.
Using the instruction in step 2, prepare another batch of the baking soda cleaning solution the following morning.
Step 6: Clean the reusable water bottle thoroughly.
After giving it a good shake, dump out the old baking soda mixture. Pour in the newly prepared cleaning solution about a quarter in the bottle, and scrub it well with a bottle brush. Do this until you are sure that it smells and looks relatively clean. Rinse out the suds thoroughly with water, until no more of the baking soda solution is, left in the water bottle.
Step 7: Then tackle the removed parts of the bottle.
Scrub the smaller pieces that were removed earlier in the process, using the bottle brush after dipping it into the baking soda cleaning mixture. Make sure to pay attention to all the smaller nooks and crannies in or on the parts, as well as the inside rims of the bottle and the lid.
Step 8: Move on with cleaning the straw.
Now, take the pipe cleaner to clean inside the straw. A pipe cleaner or a straw brush can be used to easily clean any holes or vents, and other small parts that the larger brush could not properly tend to. Do not forget to clean the inside of the opening of the bottle, otherwise known as the spout.
Step 9: Rinse thoroughly and dry.
Thoroughly rinse all the parts of the bottle, along with the bottle itself with clean water. Repeat this until all the soda mixture is completely cleared off. Before you go ahead and reassemble the bottle and put it away in your cupboard, make sure you dry it properly. Failing to do this means that your water bottle will attract mildew, completely ruining your effort.
Remember, if you are carrying mainly water, it is not necessary to go through this rigorous process on a daily basis. Cleaning it with some soap and warm water every couple of days should do just fine in terms of maintaining hygiene and cleanliness. But do give it a thorough cleaning following the steps mentioned above when you notice your bottle looking a bit beat up.


