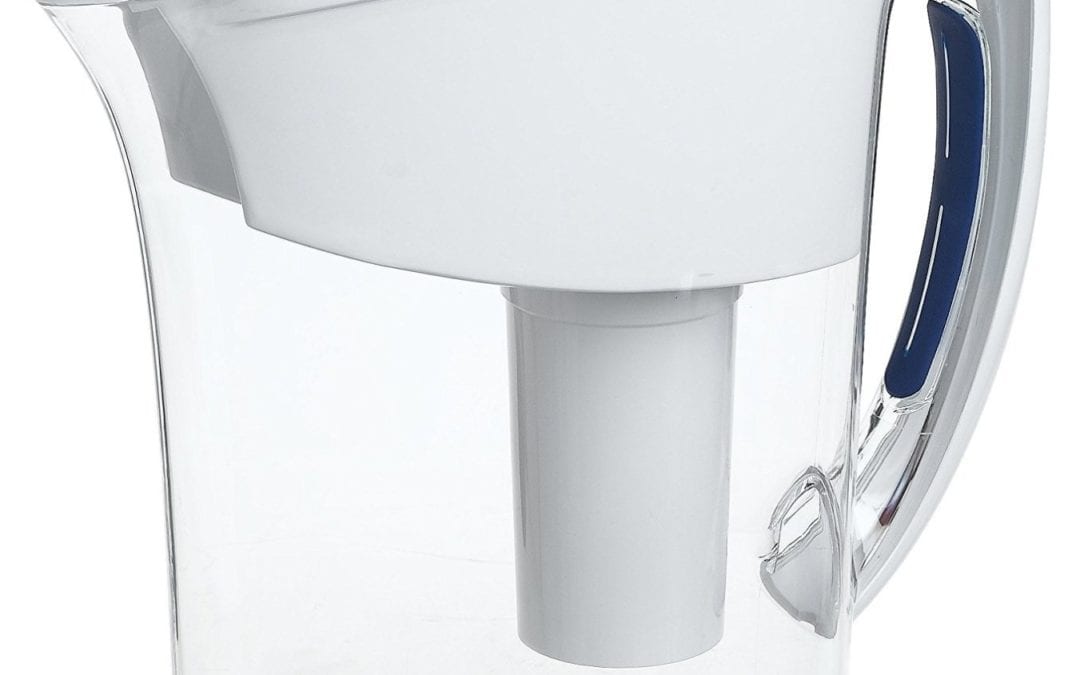
Cleaning something that holds clean, bacteria-free water is normally not the first thing on our mind. We often do not give the care and attention our Brita Pitcher needs in order for it to keep doing what it does best. You may say that it only holds water, so it should not be that dirty, and you might also argue that it does not get as dirty as the other appliances in the kitchen. While all of that is mostly true, our Brita Pitchers are something that we use on an everyday basis, and seeing that it does not have mildew or get dirty is important.
Once you see the easy steps to clean a pitcher mentioned below, it won’t feel like a chore anymore. It honestly does not take much effort, and once you get the hang of it, you won’t have to think much and it will be incorporated right into your daily cleaning routine!
Do note that these steps can also be applied to any other pitcher you may have. It is not necessary to have a Brita Pitcher to follow this method.
Here is how you can clean a Brita Pitcher:
What you will need:
- Dish soap
- Sponge
- White vinegar
- Water
- Measuring cups
- Drying rack, or a dish towel
- New filter
Instructions:
Step 1: Dissemble the pitcher
Pour out any remnants of water inside, and take the pitcher apart. You want to separate the reservoir inside and the lid of the bottle. If you haven’t already, throw away the filter. For proper hygiene, it is good to change out the filter every couple of months or so.
Step 2: Wash the removed pieces.
Pour some dish soap into a container full of warm water to make a cleaning solution. Soak the lid and the reservoir for anywhere from half an hour to an hour. Proceed to scrub the pieces with a sponge until they are squeaky clean.
Step 3: Remove the mildew.
It is quite possible to still have some pieces with mildew despite how well you’ve cleaned them in the previous part. If this is the case, mix in a cup of water with one teaspoon of white vinegar in a bowl. Then scrub the mildew off with a sponge after dipping it into the solution.
Step 4: Rinse thoroughly and let to air dry.
After making sure all the mildew is gone, rinse both the lid and the reservoir thoroughly with clean water, alternating between warm and cool. You want to make sure everything is fully dry before you reassemble them to avoid further attraction of mildew, so put them on the drying rack, or place them upside down on a dish towel.
Step 5: Prepare the new filter.
While the pitcher is left to air dry, you should start preparing the new filter in the meantime. Depending on the model of your Brita pitcher, you might or might not need to soak the filter beforehand. Unlike the older versions, the newer models do not require it anymore, so follow the instructions that came with your particular Brita model and prepare accordingly.
Step 6: Put the pitcher back together.
Once everything is dry and your filter is prepped, it is time to reassemble the pitcher. Fill up the pitcher full of water and pour it out in order to remove the carbon dust inside. Repeat this for a couple of times until you see clear water pouring out and all the carbon dust is gone. Again, depending on the particular Brita pitcher model that you have you might need to perform some additional steps while reassembling your pitcher back together, hence follow the instructions given.


