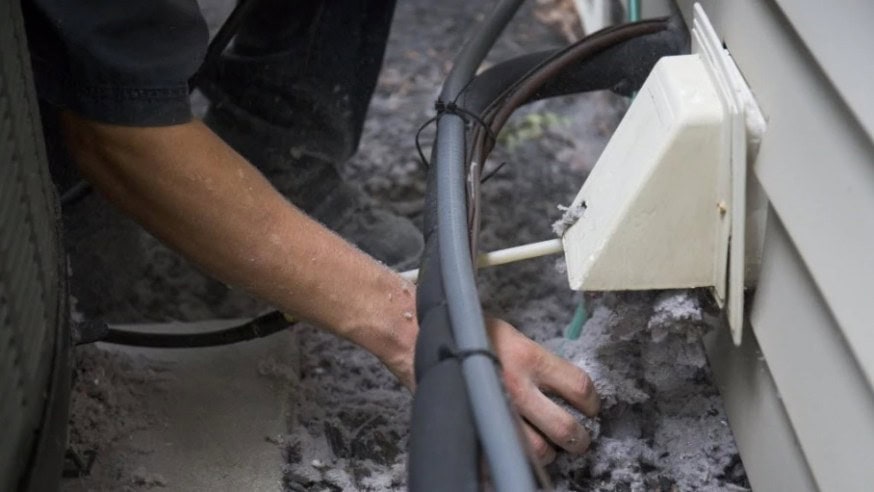
Maintaining good home hygiene is very important. Whether you are a bachelor living alone, a homemaker or just a teenager helping your mom in daily household chores, it is your duty to keep your home clean. Your work is not done just by cleaning dishes and clothes; the equipment needed to do these must also be cleaned. While you clean your clothes regularly, do you care about cleaning the vents? If you do not, you should!
Why is it important to clean drier vents?
More than hygiene, it is important to clean your drier vents for safety purpose. Home fires arise mainly due to clogged drier vents. This also results in deaths and injuries. As a precaution, keep the portion of the exterior of your house where the drier vent outlet is free of bushes, birds’ nests, trees and other debris. This will reduce the chances of fires occurring.
If your drier vent is clogged and the air is not filtered out properly, poisonous gases will linger in your home. This is another cause for respiratory and breathing problems. This further leads to extra medical expenses. However, taking precautions will lower the risks of a mishap but cleaning it will keep the problem at bay.
Nevertheless, how would you know when is it time to clean? There is no specific time but you will get signs, such as:
- Your clothes are not drying completely. They remain damp even after completing a full circle in the drier.
- The drying time has slightly increased. It takes about 30 to 40 minutes to dry.
- Your clothes smell funny. After coming out of the dryer, your clothes smell either damp, burnt or mushy.
- You will notice changes in temperature, both in the room of the drier and your clothes. They will feel warmer than usual.
- There is lint everywhere! Inside the lint screen, in the vent opening doors and around the lint filter.
- You face trouble opening the outside dryer hood flap while it is working.
If you notice any of these signs, it is about time you clean your drier vents. Here is a strategic guide on how to do that:
Step 1: Remove the Vent Clamp
Safety first; remember to unplug your dryer first. Push your dryer away from the wall so there is enough space for you to work. Then, with the help of a screwdriver, remove the back vent clamp.
Step 2: Clean the Hole
Once the vent is removed, start by cleaning the hole at the back of the dryer. Using a snake brush or a vacuum cleaner, clear off as much dirt as possible. After that, reach out to the vent tube to clean it.
Step 3: Clean the hard to reach areas
After cleaning the basic areas of the drier, aim for the harder ones such as the middle areas. Do this carefully as not to poke a hole in your vent tubing.
Step 4: Clean the Exterior
After cleaning the interior properly, go to the part of your house where the exterior tube is located. In the same way, clean this part of the vent tube.
Step 5: Replace the back vent
After all the hard work is complete, replace the vent back in place. Let the drier run empty for some time to get rid of any debris or dust that was accumulated.
Do not cringe away from this thorough cleansing. Doing this once will serve you for a whole year!


