If you do not have the habit of cleaning the electrical appliances at your home, chances are you will have to put in a lot of effort while giving them a thorough cleaning once, every year in order to keep them functioning. However, after a cold and long winter, most people stress out while preparing themselves to survive the hot summer. One of these appliances include our box fans which is an essential item for people who suffer from excessive load-shedding during summer time.
Even though box fans are small in size, it requires a lot of effort to clean them and if you aren’t aware of the cleaning process, hopefully, the steps below are all that you will need to get the job done.
- Switching off the power source
Before setting out to clean up your box fans, it is necessary to remove the plug from the power source. This is an important safety precaution since you’ll never know when you’re dealing with a faulty fan which can create an explosion or you just might end up being the victim of an electrical short circuit. Hence, to be safe, take the time to turn off the power source and take out the plug before preparing yourself for the hot summer.
- Taking out the grills
In order to take out the grills, you’ll have to spend quite a lot of time removing the screws if you aren’t used to working with mechanical tools. However, if you have enough experience, it will only take you about 5 minutes to take out all the screws from the fan. Box fans usually have 12 screws in total, 6 at the front and 6 at the back. You will only be able to reach the grills once you have removed all the screws. You will need a four-way screwdriver in order to get the job done.
- Washing the grills
Cleaning the grills will require you to spray them off with water using a hose or a hand-shower from the bathroom. This will eliminate any dust or dirt that may have collected throughout the cold winter and bring it back to its original color. Putting the hose to its highest pressure will help you to attain this.
However, if you have a furry friend at home, it is pretty obvious that a lot of fur may have caught into the grills by now. Take the time to pull out the strands of fur and the clumps of dirt from it. After you have finished cleaning the grills, give the fan a good shake in order to get rid of any excess water and leave it to sundry.
- Cleaning the motor and blades
Take a vacuum cleaner hose and place it near the motor to get rid of the dirt and dust from it. However, refrain yourself from forcing the hose into the space between the motor and the blades since it can damage the structure inside the fan. Use a clean cloth once you have used the vacuum cleaner to suck out the dirt and wipe out all the blades separately. Though this may take some time, it is still worth it. Give it another wipe if the dust still persists. Place the fan underneath the sun to dry it off.
- Placing the parts back
After the fan has dried completely, put the parts back in its original place and screw the grills back using the help of a screwdriver.
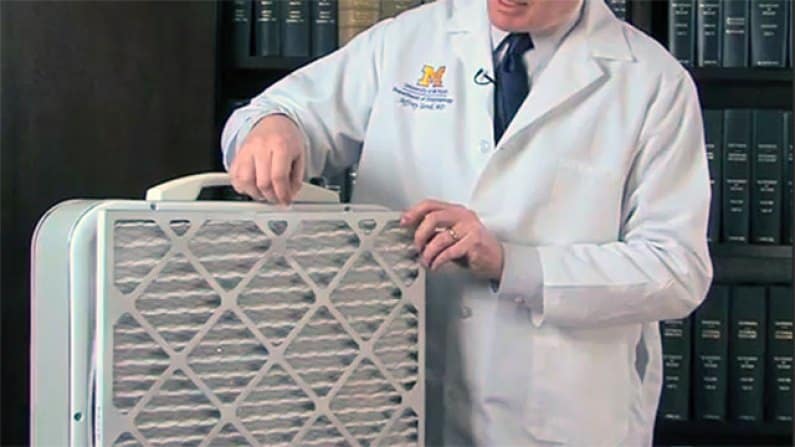
Once you have finished the work, plug in the fan and see if it works. Chances are, it will and you will be able to notice that the air flowing out is now cleaner and free of dust. However, it is better to invest in a filter since it will soak in all the dust particles while your fan is working and provide you with clean and fresh air to survive the entire summer.


